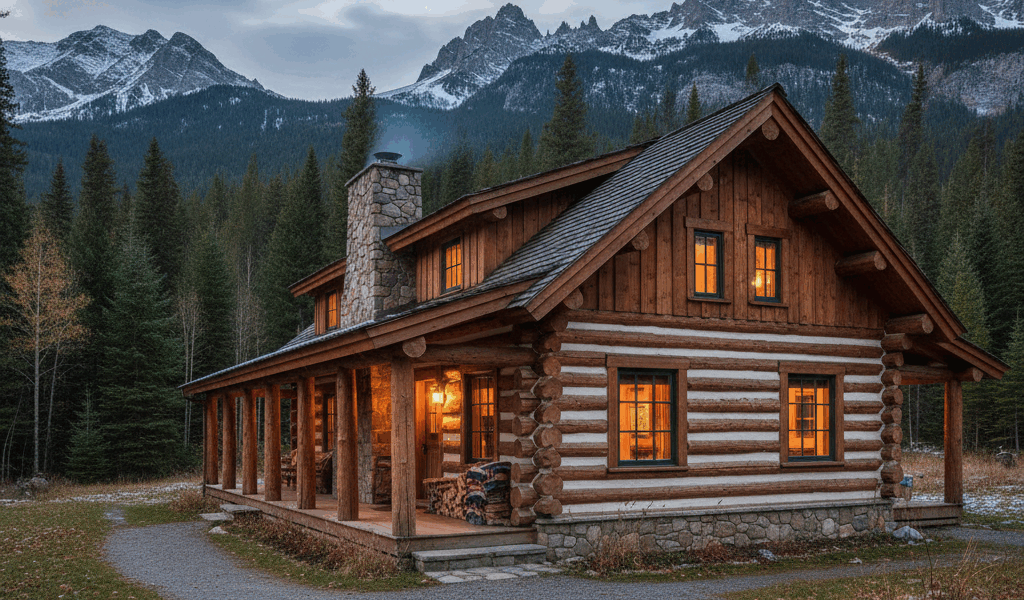
Chinking has gotten complicated with all the product options and conflicting advice flying around. Between every log in a traditionally built cabin sits an opportunity for air and water to sneak in — or, if you’ve done it right, the quiet satisfaction of a perfectly sealed wall. As someone who’s rechunked an entire south-facing wall by hand, I have strong feelings about this topic.

Traditional Chinking Materials
The old-timers used whatever they could find — clay, mud, moss, animal hair mixed with lime. Creative, resourceful, and honestly not very durable. Traditional chinking cracked, shrank, and fell out on a regular basis. Maintaining it was basically a full-time hobby.
Some restoration projects still use traditional materials for historical authenticity, and I respect that. But for anyone building new or maintaining a cabin they actually live in, modern options are just categorically better. No nostalgia tax required.
Modern Synthetic Chinking
Today’s synthetic chinking compounds are, in my experience, one of the genuine improvements in cabin construction over the past few decades. Acrylic-based formulations bond to wood while staying flexible — they stretch and compress with the logs through seasonal expansion and contraction instead of cracking apart like the old stuff did.
They come in a range of colors now too, which matters more than you’d think. Matching your chinking to your log species and stain choice makes the difference between a wall that looks finished and one that looks like someone ran a white caulk line between every log. We went with a warm tan that basically disappears against our cedar — and that’s exactly what you want. The chinking should do its job without shouting about it.
Application Techniques
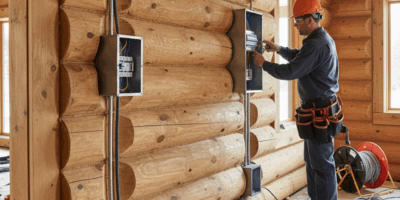
Good application starts with prep work. Clean, dry log surfaces are non-negotiable for proper adhesion. Backer rod goes into larger gaps first — it prevents the chinking from sinking into voids and gives it something to grip against. Then you work bottom to top, in temperatures comfortable enough for proper curing. Rush this on a cold day and you’ll be redoing it next spring.
Professional applicators use specialized tools to create consistent, clean bead lines. I’ve done it both ways — myself and hired out — and I’ll admit the pro results look better. If you’re doing it yourself, invest in the right caulk gun and tooling. A cheap gun and your finger as a smoother will produce chinking that looks, well, like someone used a cheap gun and their finger.
Maintenance and Reapplication
Even the best chinking needs checking. Annual inspections — which really just means walking around the cabin slowly and looking — catch cracks, separations, and spots where adhesion has let go. Fix small failures promptly. Water finding its way behind chinking and into log joints is how you end up with rot, and rot repair costs ten times what a tube of chinking compound costs.
The good news is that most modern systems allow easy spot repairs without tearing out and redoing entire walls. Keep a tube of matching chinking on hand, address problems when they’re small, and the whole system holds up well for years between major maintenance cycles. It’s genuinely manageable if you stay on top of it.

Stay in the loop
Get the latest rustic cabin world updates delivered to your inbox.